
I wanted to show y'all the project we've been working on this week in the SIMPLES group - it's Mixed Dots! Last week we did straight up polka dots - very organized and neat. This week we mixed it up by adding differently sized dots in random order. There's no pattern here! I chose to mix up a coral red with a gorgeous copper.

This was another hugely easy look to pull off, in which I used only two polishes.
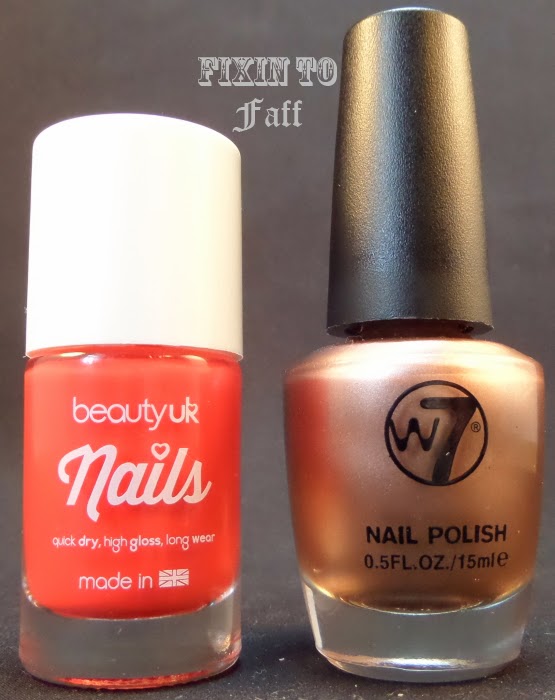 |
| L-R: Beauty UK Coral Burst and W7 Bronze Copper |

The process is pretty easy - I grabbed two dotting tools which gave me a selection of 4 different sizes (because they're double-ended). I started by randomly placing the largest dots first, placing them around the nail and leaving plenty of room for smaller dots to fill up the dead space.

I then followed using consecutively smaller dotting heads to fill in the space, just sort of dabbing them wherever I felt like they needed to go. Metallic polishes are notoriously picky about showing brushstrokes and other implement "lines", so you can see slight impressions of the dotting tools in the copper polish.

I'm absolutely in love with this look and I always think it's adorable when I see it used by other nail artists, so I am really happy I was able to create my own version. What do you think?
Don't forget, if you're interested in learning nail art from the base up, join us in the SIMPLES Facebook group and have fun with us!
Hope you're all having a great week, and I'll see ya soon!
Also, before you leave... have you entered the giveaway yet?